The Building of Aslan
The Building of Aslan |
|
|
|
|
|
|
|
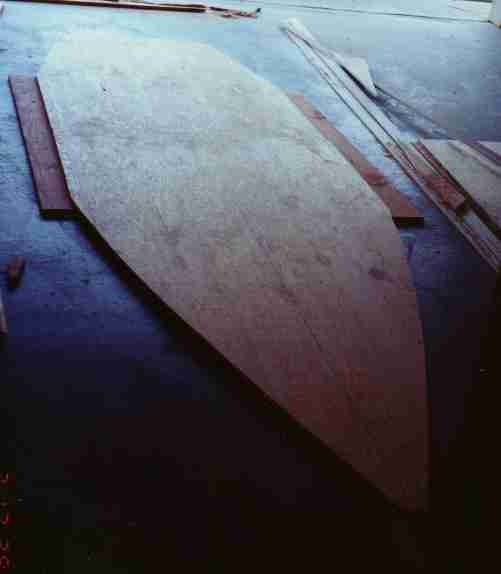 |
The bottom panels cut out and positioned for final cutting with "filler" pieces from the scrap around the bow. |
 |
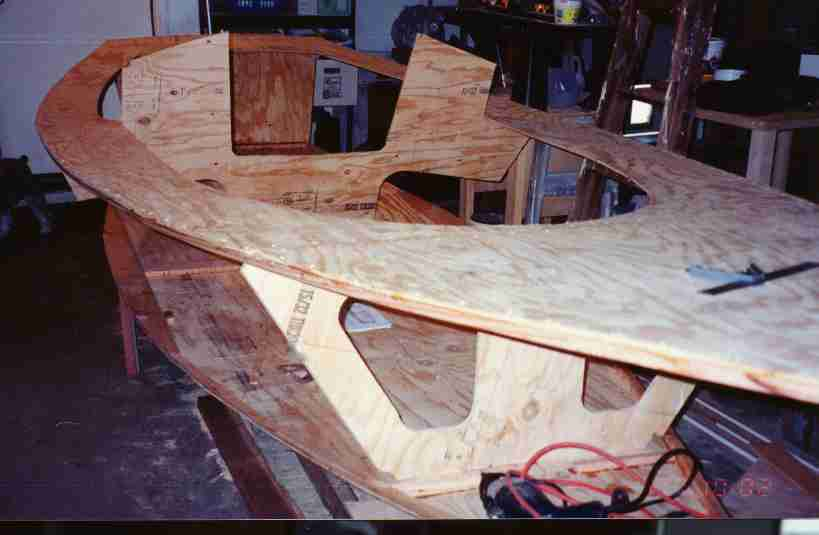
The bottom and deck assembled to the keel. The bulkheads still need finishing; you can see the irregular cut on the left side of the forward bulkhead (just in front of the power drill.) Under the front bulkhead you can see a quick and dirty frame with casters I made to hold the boat in position and allow me to manuever it around the garage. Except, I'm such a pig when I work on something it is hard to make it roll! |
 |
View from the bow of the boat back towards the stern. The "post" you see off the starboard side is temporary and just to help balance the boat while I work on it. This post, combined with a 5 gallon bucket at the port side of the stern, make the assembly sturdy enough to climb in and work. |
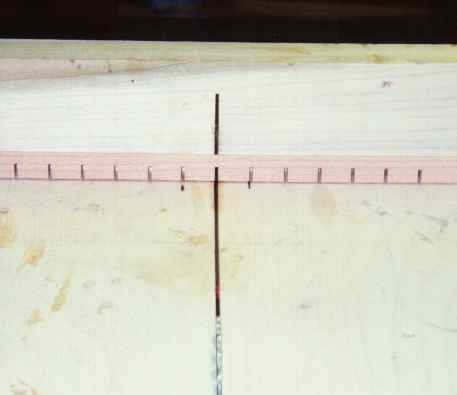 |
Close up view of my table saw sled (with runners on the bottom that ride in the miter slots, this sled allows quick repetition of operations -- perfect for my "Ultra Kerf" techique.) The plans call for a kerf 1/2 way through the stringer every three inches, but I found that the only way to get a fair curve was to use more kerfs. You can see where I've marked the base of the table saw sled with marks 1" on either side of the cut line. This makes it easy to saw a kerf, move the stringer to the left or right lining up the kerf with the mark, and make another kerf. By evenly spacing these kerfs, it is easy to locate screws between the kerfs later. The only caution is that you have to carefully pre-drill all holes, and the stringer is much weaker with this many kerfs. |
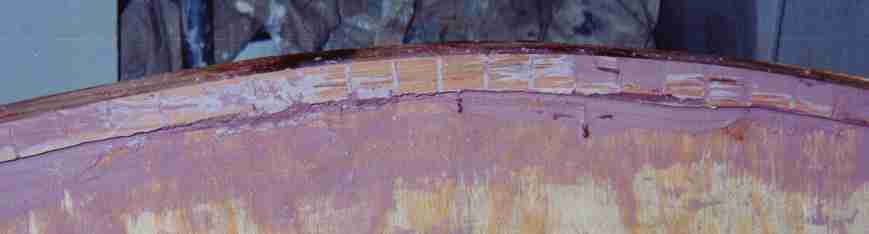 |
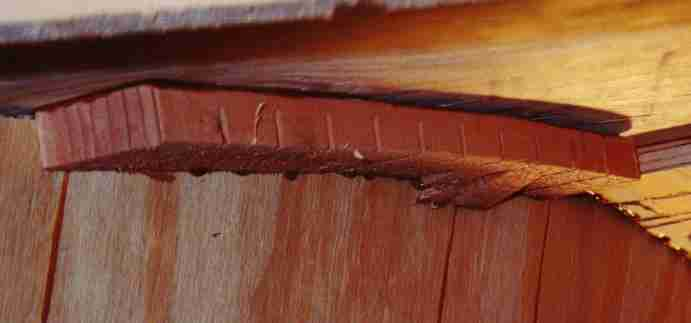
To solve the strength problem, and also to fix splits, I slathered on Bondo after attaching the stringer to the transom (you can tell by the deep pink color that this was a "hot mix" of Bondo.) This makes the kerf very strong, and doesn't interfere with drilling and screwing later on. |
 |
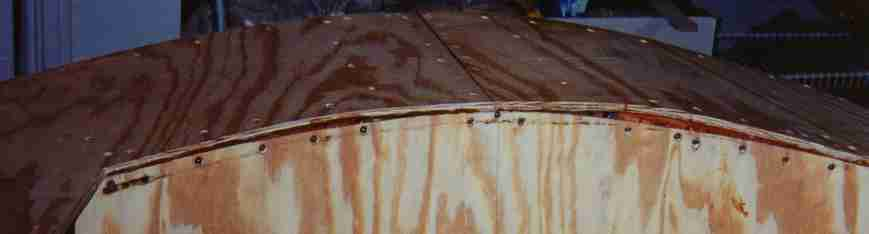
This is the stern panel joiner, and it caused quite a bit of trouble. You affix it when gluing up the deck panels. The plans call for a 10 x 10" piece of 3/8" ply. I used 1/2". DOH! It made it difficult to bend the stern deck panels down onto the transom. I kerfed this joiner a couple of times after the fact by using my circular saw set to cut just shy of 1/2", and that helped. It still made a slight squaring of the aft deck panel, but I actually kind of like it now. So I quit stressing over it and went with the flow. |
 |
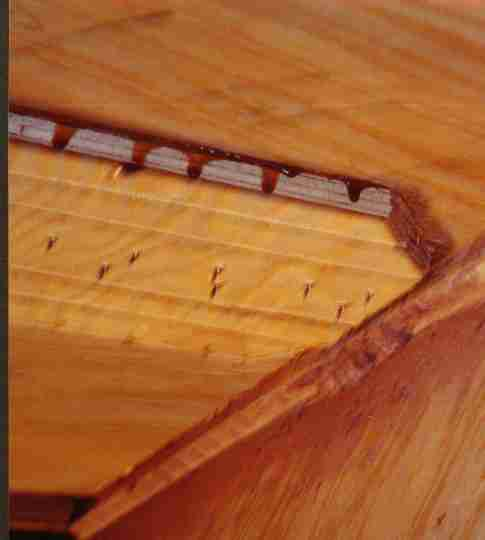
This is my alternate lazarrette mounting. The plans call for a stringer on the back of the lazarrette, but the compound curve, with the ends curving towards the bow and the middle curving up in the center, was too much. And, the stern deck panel joiner was in the way. I struggled with this quite a bit until I decided to take some scraps, cut them to the profile of the deck panels, and kerf them so they could bend up, and attach them to the underside of the deck. This isn't a pretty assembly, but its hidden, so I wasn't that particular about the condition of the scraps I used. |
 |
The lazarrette assembly is complete. You can see the squaring of the center of the deck at the stern, and even though it looks like the port side (on the right) is higher showing the gap, it actually isn't. After filling and finishing, this should be A-OK. |
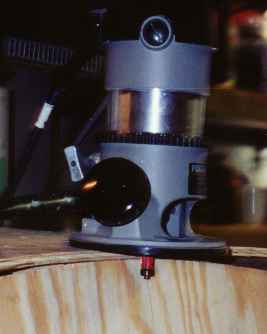 |
A router with a flush trimming bit helped square off several of these assemblies. This type of bit is sometimes called a laminate trimming bit. |
|
|
|
|
|
|