The Building of Aslan
Revised 05/21/00
The Building of Aslan |
Revised 05/21/00 |
|
|
|
|
|
|
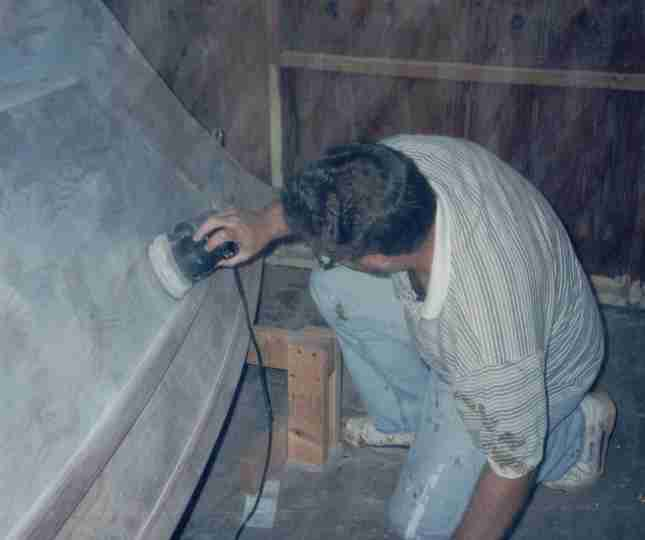 |
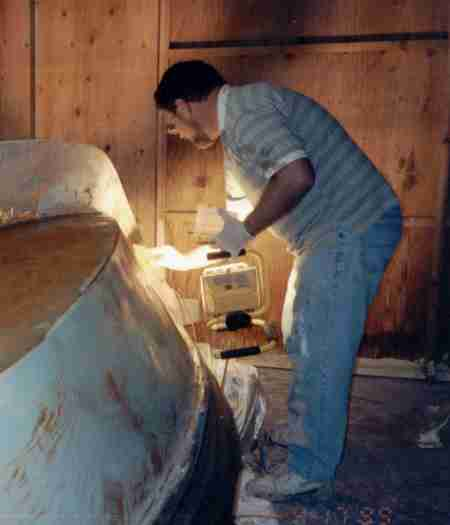
During my prep, I sanded the port side first, and over did it. The rotary cut fir plywood sanded away in the soft, lighter spots, but the harder wood in the grain pattern didn't sand away as fast. Looking at the hull at an angle, with a bright light, you could see undulations all across the surface. I used some epoxy fairing putty that the guys at West Marine gave away (it was inventory time, and they had several cans of paint and putty that had been opened and were not salable.) It was a light blue in color, and I spread it using a 12" drywall taping knife to fill all the areas I had sanded away. Here, I'm sanding the fairing putty out. In the end, it looked good, but it was several hours of work that I wouldn't have had to do if I had simply sanded the joints and screw hole filling like I ended up doing on the starboard side. |
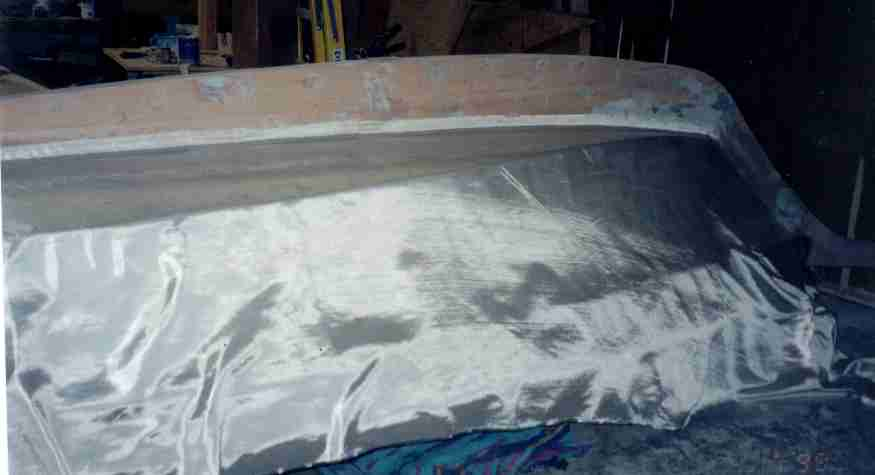 |
I did find fiberglass cloth at a great price! From Hamilton Marine, 40 yrds 5.5oz, 50" w. fiberglass cloth at 2.99/yrd + 17.47 shipping. I really only need 20 yrds for Aslan, but at $2.99 a yard, I went ahead and bought twice as much. I'm thinking of making a quick and easy stitch and glue kayak later one (for heaven's sake, don't tell Jan!) Here it is draped over Aslan, ready for the epoxy. To "dry fit" it, you smooth it out as much as possible before pouring on the epoxy. |
 |
From a price standpoint, I was torn between Fiberglass Coatings, Inc. and RAKA. I finally decided on RAKA, because Larry Steeves is so accessible. The epoxy is a two part mixture, and the metering pumps RAKA sells work great. I worked with 9 to 12 ounces of total material, mixing the fast and slow cure hardener equally in each batch. It is stirred completely, for a full minute, making sure to scrape the sides of the container. On the horizontal surfaces, I poured it out in a "S" shape and then used the yellow plastic spreader to coat each section. Once the glass "wets out", it turns almost transparent as the photo shows, I scraped the epoxy off into the next area as much as possible, avoiding puddles in the the wet out section. Pretty easy on a horizontal surface. |
 |
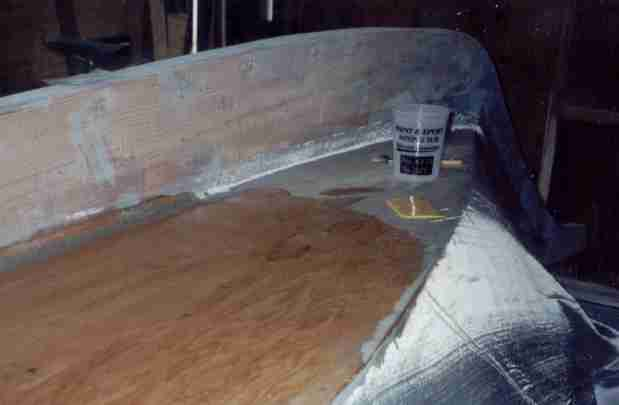
The vertical surfaces were harder. I used a "chip brush" from Harbor Freight Tools (about $11 for 36 2" wide natural bristle brushes) to dab on epoxy. Then used the squeegee to spread it out. It took quite a bit longer to do the sides, but wasn't really hard. On this side, I didn't do the area between the rub rails at this time, and just allowed the epoxy drippings to collect on the cloth. That was a mistake; once the epoxy dried, it made several spots of the cloth unusable. On the starboard side, I did the area between the rub rails right after finishing the side. At first I tried to do it without cutting along the bottom, but that proved to be a bit difficult, so I had a pair of scissors, the brush, the plastic spreader and the epoxy container ... all of which were extremely sticky so I couldn't put them down ... and fiberglass cloth fuzz flying about when I cut it. Not a pretty picture! |
 |
To see runs and "dry spots," I used a light held at an angle to the
surface. Epoxy is funny stuff, if you recoat within the proper amount
of time, you don't have to sand it. With the mix I'm making, and
our mild weather here, I have about 48 hours to recoat. It dries
to a non-sticky state within about 24 hours, so I'm recoating each night
after work. Subsequent coats are easier to apply; you just use a
short-nap foam roller and roll it on like you are painting. Everyone
told me it would take 3 coats or so to fill the cloth weave, but I've found
that on the horizontal surfaces I can do 4 for a good coating, but a minimum
of 5 or 6 for the sides. As of 4/24/00, I have three coats on the
other side of the boat (and between the rub rails on this side.)
After several more coats, I'll be ready to let it cure, wash it down, and sand it in preparation for painting. |
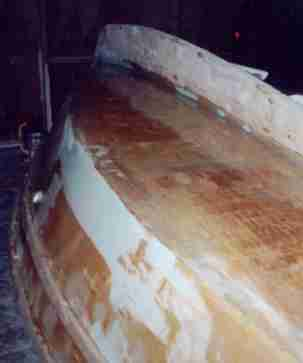 |
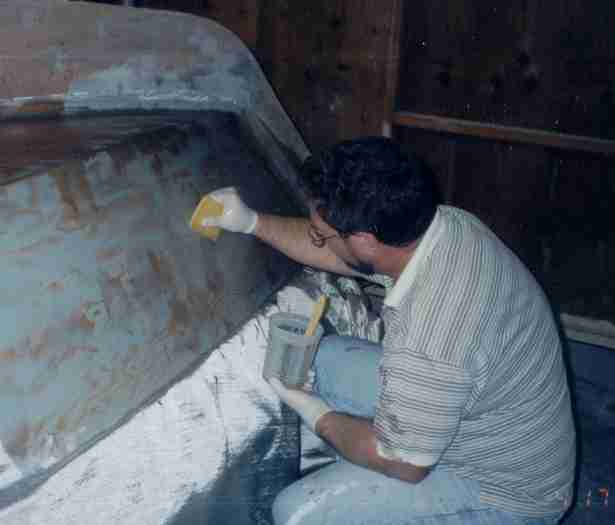
Updated 5/21/00 Here's the finished glass and epoxy on
the starboard side, which looks exactly like the finished glass and epoxy
on the port side. This is the signal that you get to do the worst
part of this job ... sand. I started out with a finer grit, but ended
up using 60 grit on the random orbital sander and 100 grit aluminum oxide
paper on the pad sander. You don't want to sand through the epoxy,
of course, but you want to even out the top layer. As you sand, you
notice there are high spots and low spots. These are minor imperfections,
but I think they would show up after painting. The solution is, after
brushing off sanding dust, to use a small amount of unthickened epoxy and
a new spreader to fill in the low spots. The epoxy picks up residual
sanding dust which thickens it enough to help fill areas on the vertical
surfaces. This is a "skim layer" that is easy to fine sand with 100
grit paper.
In a couple of spots I had bubbled or otherwise screwed up glass. I let it dry and used a Surform shaper to get the majority flat, then sanded. A little epoxy with glass bubbles as thickener filled in the areas nicely. Then more coats of epoxy. |
|
|
|
|
|
|