The Building of Aslan
Updated 7/12/00
![]()
The Building of Aslan |
Updated 7/12/00
|
|
|
|
|
|
|
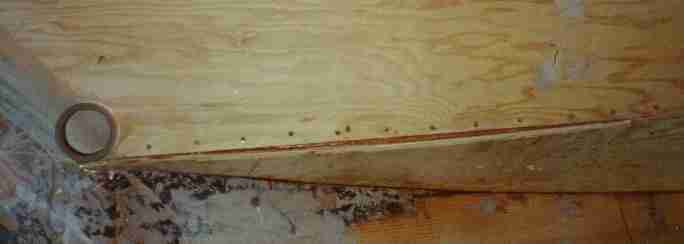 |
At the bow, there is a large area to fill with epoxy where the side panel doesn't quite meet the bottom. This is part of the design of the boat, and if filled correctly, works fine. By tacking a scrap of plywood on the bottom, I reveal the area to be filled (that strip of darker brown.) Just filling with epoxy wouldn't work, as the epoxy would stick to the plywood scrap. The solution? Apply PVC packing tape to the scrap first, and the epoxy won't stick to it. |
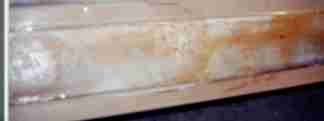 |
Its hard to see with this scan, but the fiberglass cloth really bubbled in this one spot between the rubrails. On the Weekender, the fiberglass is really just for abrasion resistance and to keep the fir plywood from checking the surface as it expands and contracts. I used a Surform shaper to hog off most of the bubbled material, then hit it with 60 grit sandpaper. I mixed up epoxy and glass balloons to make a fairing compound, filled it in and finished sanded. The final coats of epoxy covered it well, and its now as smooth as ... well, a boat hull. |
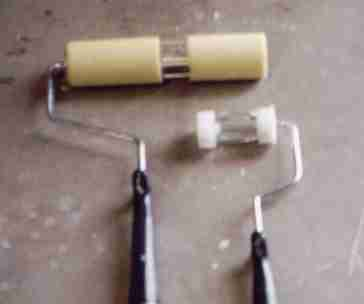 |
This one is so simple I'm embarrassed to say I didn't think of it until I started glassing the starboard side. I needed to use the 3" roller for between the rub rails. And I found that the "short nap" foam rollers sold at Home Depot weren't short enough . . . you really need to use 1/8" nap foam rollers. So I was buying them from West Marine. Pricey. And I used a 7" and 3" roller cover for each of the 6 coats of epoxy on the port side of the boat. Until I realized I could use my band saw to cut the 7" roller cover so that when I'm finished with using it on the wide areas, I could slide off the 3" section and finish between the rub rails. You have to make a clean cut in the roller cover, otherwise you'll leave marks as you're rolling on the epoxy on the wide areas. So cutting on the band saw or table saw is probably a must. |
 |
As I sanded the epoxy, I noticed a kind of mottled effect, almost like the texturing on drywall in homes, but not as pronounced. At first, I sanded it down smooth, but this required both time and a bit of worry: why was I sanding off so much of the epoxy I had applied? I stumbled upon a technique that minimizes the sanding. First, I sanded with 60 grit paper on my random orbital sander, then 100 grit aluminum oxide paper on my pad sander. This highlighted the high spots by dulling them, while the depressions remained "shiny." Mixing just 1 1/2 ounce of epoxy, I then spread it in a very thin layer with a new plastic spreader. This "skim coat" fills in the depressions, and just needs a quick touch up with 100 grit paper once dry. I've mentioned this to other builders, and they haven't noticed the mottled effect. So either something in my technique is causing it, or I'm worrying too much about a smooth hull surface! But in any case, the "epoxy skim coat" technique sure beats sanding away most of the expensive epoxy! |
 |
Added 7/12/00
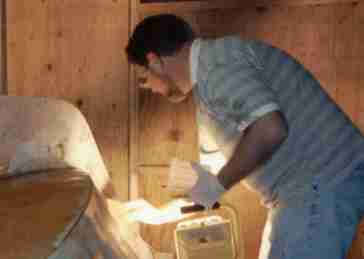
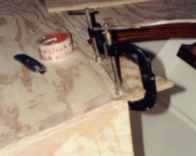
At the companionway opening, I cut the opening in the roof section too wide. It is a long, thin, triangular section that would be tedious to fill with wood, and would be fragile as well. Here, I'm using pvc tape coated plywood clamped under the area and another piece to define the edge. Tape also goes on the c-clamp to keep it from being permanently affixed to the boat. The gap formed by the pvc tape coated plywood is then filled with epoxy mixed with wood flour (very fine sanding dust) and allowed to cure. The c-clamps, and pvc tape coated wood, snaps away clean, leaving a filler piece that is strong and permanent. |
|
|
|
|
|
|